
Sony TR-6
Bath 'n a Buff for a Beautiful Radio - 3: In Process

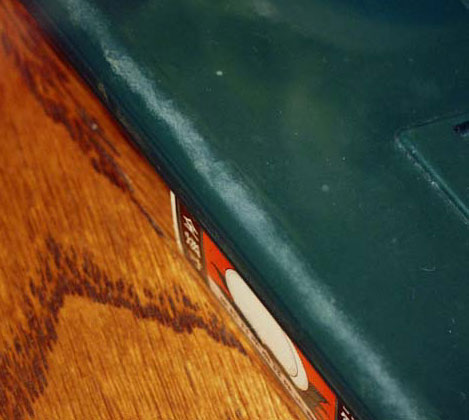
The photo above shows the back cover after many hours of polishing every nook, cranny and curve to bring out the original colour on the flat surfaces. At this stage we get a pretty good look at the ugly layer of discolouration that once blanketed the entire surface in the form of that long, cloudy whitish stripe along the curve along the top edge. The curved section has already received lots of polishing, so what we see here are the last remains of the discoloured layer, and not what the back cover looked like originally. This strip will grow increasingly narrow and fade completely after applying a lot more elbow grease.

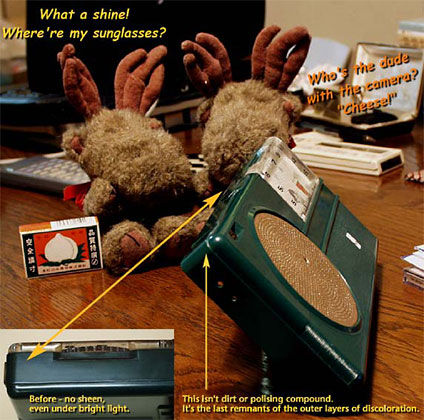
This photo, originally prepared as a report to Alan, shows the colour and shine that was coming up on the cabinet after considerable polishing. The only work left at this stage was to buff out the discolouration in the tight areas along the ridge at the top, by the volume switch, and in the ribbing on the cabinet's lower right half. Polishing up this fine ribbing and the tight spots on both the cabinet and back cover accounts for a good deal of the time spent on the restoration. Then again, it's only once you get into polishing this hard plastic that you start to realize (and appreciate?) just how many curves, crevices, ridges, ribs, and other accents this cabinet mold includes.