
Sony TR-6
Bath 'n a Buff for a Beautiful Radio - 2: Getting Started

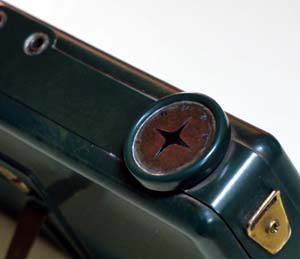
The top photo shows how - uh - 'well used' the volume switch was. You can also make out some of the gunk that filled the recessed wells around the earphone jacks, and some mottling on the top of the back cover. In addition, what appears like greyish coloured dirt crammed into the areas along the ridge in the top of the cabinet is in fact oxidation, (discolouration of the surface layer). I lightly buffed the corner of the cabinet before taking the photo, and here we can already start to see the radio hiding beneath.

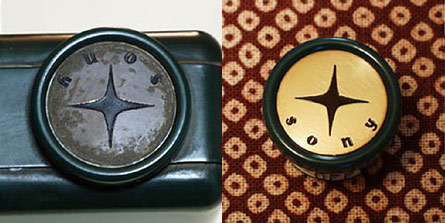
The first task is of course to completely dismantle the radio and thoroughly wash the cabinet and all screws and fittings. That done, I began polishing the easy things, such as brass parts, in between long rigorous sessions of polishing the cabinet. On this page you see the rebirth of the volume switch and the kick stand from the back cover.